How to make an event sequence in Roblox scripting
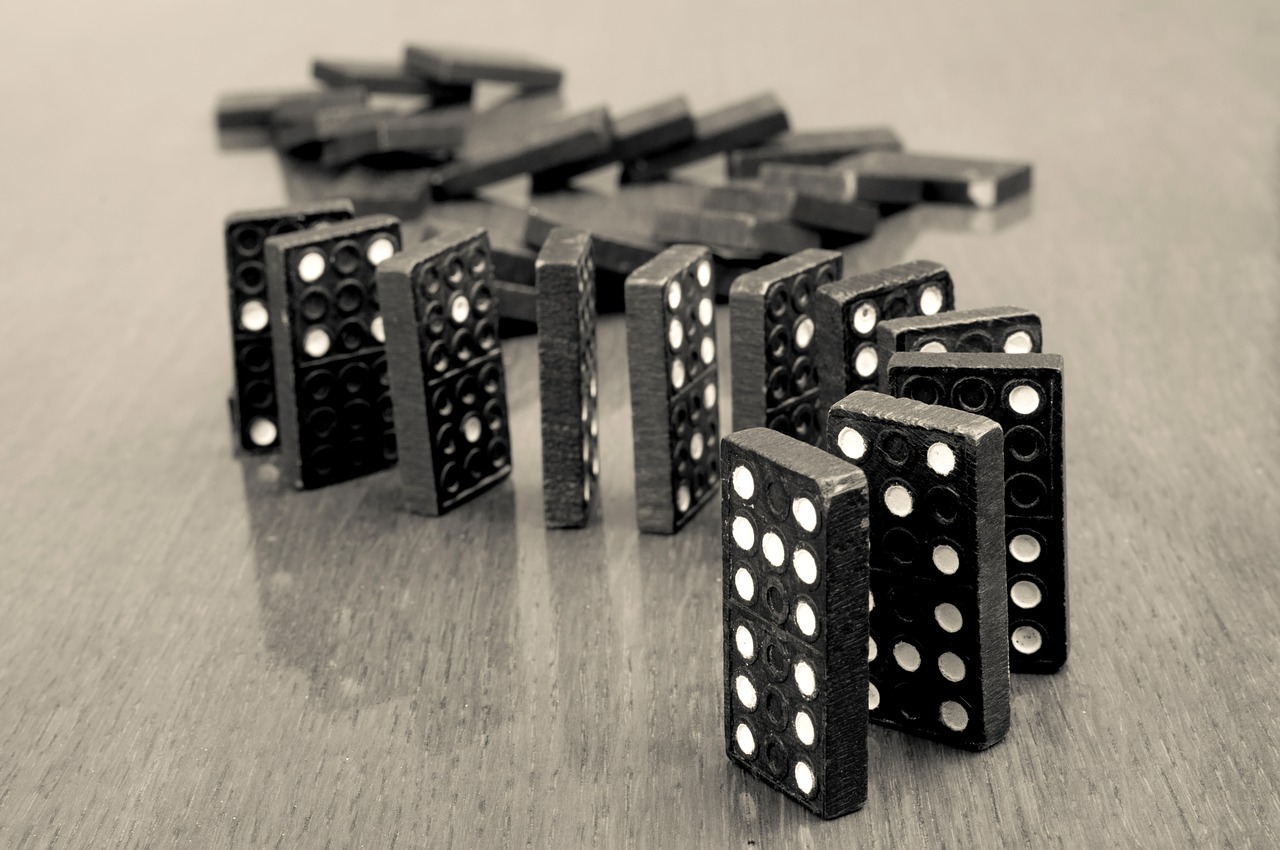
How to make an event sequence in Roblox scripting is like a row of dominos. One domino starts the sequence. Each domino will go through several transitions. These transitions start with being pushed, falling, hitting the next piece, and then resting in place.
What you’ll learn
- How to use design patterns
- What are Lua enums
- How to use a finite state machine to make an event sequence
Example Scenario – Battleship event sequence
Let’s say we have a game with different phases where we’re on a sailing ship. Our event sequence will go through several phases.
Phase 1

In the first phase all crew members have time to explore the ship while it’s sailing to its next mission. After a few minutes, a torpedo hits the ship. Before the torpedo hits, the captain is warned and prepares to defend the ship. After the warning, the ship moves on to phase 2.
Phase 2

In phase 2, the crew on the ship starts defending the ship. The crew has two outcomes, they either succeed in fending off the enemy or they get destroyed and captured.
When the crew succeeds, they’ll stand down their defenses.
When the crew fails they will get captured by the enemy.

With this type of scenario, we can break this down into code using a finite state machine to make an event sequence in Roblox scripting.
Finite State Machines
A finite state machine (FSM) is an abstract model that represents the different states that can occur. An FSM can only exist in one state at a time which is why it’s finite and not infinite.
A traffic light is a good example of an FSM. It can only have its green light, yellow light, or red light on. When it’s in the green light state the FSM waits a few minutes before it transitions to the next state, the yellow light state.
We can use these state transitions for many things. Transitions can include an NPC going from an idle state to a fight or flight state depending on the present conditions. We can also use these transitions to send signals to set up the state of the game world.

In this diagram, we see how an NPC uses transitions as its AI. When the NPC is near an enemy it can fight safely, it goes into an attack state.
Similar to some MMOs like World of Warcraft, our NPC must stay within a certain range from its spawn point. So it uses the run back home state when it’s too far from home.
When there are no enemies nearby, its goes into an idle state and when it’s near more powerful enemies it goes into a runaway state.
As you can see, the NPC will also transition from its run away state to its run back home state if it has run too far.
How event sequences work

We’ll use a cycle system when using FSM to manage the state of the game world. In this diagram, we start with the first event. Each event goes through a cycle that starts with a setup phase, beginning phase, end phase, and a clean up phase.
In the setup phase, we prepare the game world for what we want to have available to our players.
In the beginning phase, players can now interact with the world. Here we can decide to have a timer or have a win condition before the timer runs out.
In the end phase, the game displays the end results of this event or it can act as a preparation step for the next event.
In the clean up phase, the game disposes of any unneeded game assets or resources and then moves on to the next event.
Lua enums
An enum, short for enumeration, is used to represent a group of constant values. Instead of using numbers we can use a word that maps to a unique number. Enums help us make code easier to understand and write.
With Lua, data types are not strongly typed. If it were strongly typed, we could use enums in our condition statements by checking its type. With weak data typing in Lua, we use the number value associated with the enum in our condition statements.
We should be careful to not write condition statements that check equality with hardcoded numbers. The hardcoded numbers make it harder to understand why it’s that value. An enum makes the conditions intent clearer.
Example
local Color = {
  RED = 1,
  GREEN = 2,
  BLUE = 3
}

local function isRed (color)
  return color == Color.RED
end

-- without enums
local function isRed (color)
  -- hard coding 1 as the number may break when Red changes to another number
  -- with enums, RED can change and not break this condition
  return color == 1
end

local ContentType = {
  VIDEO = 10,
  SERIES = 20,,
  EPISODE = 30,
  IMAGE = 40
}
Event States
An event state class will have functions that handle transition changes and logic for each event state. In general, we’ll use a state cycle that goes from an init state, start state, end state, and after state.
The init state will set up our event by putting everything in place for the current state.
Enum
-- Event state enum
local EventState = {
  INIT = 1,
  START = 2,
  END = 3,
  AFTER = 4
}
Event class
-- Event class
local Event = {
  State = EventState.INIT,
  Next = nil
}

-- Event constructor
function Event:new (o)
    o = o or {}
  setmetatable(o, self)
  self.__index = self
  return o
end
Class functions
The transition function allows our events to cycle or reset themselves. This is useful for round based games that need to reset after a given time period.
function Event:transition()
  if self.State == EventState.INIT
    self.State = EventState.START
  elseif self.State == EventState.START
    self.State = EventState.END
  elseif self.State == EventState.END
    self.State = Event.State.AFTER
  elseif self.State == EventState.AFTER
    self.State = Event.State.INIT
  end
end
The following functions are the base functions that you can override. Overriding functions allows you to extend the logic of your base class (Event in this case).
function Event:runInitState()
  -- logic for init state
end

function Event:runStartState()
  -- logic for start state
end

function Event:runEndState()
  -- logic for end state
end

function Event:runAfterState()
  -- logic for after state
end
The run function shown below initiates the state functions.
function Event:run()
  if self.State == EventState.INIT
    self.runInitState()
  elseif self.State == EventState.START
    self.runStartState()
  elseif self.State == EventState.END
    self.runEndState()
  end
end
Complete Code Example
In this code example, you can see how the FSM model works for the ship sequence you read earlier.
local EventState = {
  INIT = 1,
  START = 2,
  END = 3,
  AFTER = 4
}

local Event = {
  State = EventState.INIT,
  Next = nil
}

function Event:new (o)
    o = o or {}
  setmetatable(o, self)
  self.__index = self
  return o
end

function Event:transition()
  if self.State == EventState.INIT
    self.State = EventState.START
  elseif self.State == EventState.START
    self.State = EventState.END
  elseif self.State == EventState.END
    self.State = Event.State.AFTER
  end
end

function Event:runInitState()
  -- override me to setup event and transition to start state
end

function Event:runStartState()
-- override me
End

function Event:runEndState()
-- override me
End

function Event:runAfterState()
  if self.Next ~= nil
    self.Next:run() -- init next event
  end
end

function Event:run()
  if self.State == EventState.INIT
    self.runInitState()
  elseif self.State == EventState.START
    self.runStartState()
  elseif self.State == EventState.END
    self.runEndState()
  end
end

-- define our ship events and sequencing
-- phase 2
local shipAttackEvent = Event:new()
shipAttackEvent.captured = false

-- phase 1
local shipSailingEvent = Event:new()
shipSailingEvent.Next = shipAttackEvent

function shipSailingEvent:runInitState()
  -- setup all ship exploration states
  self:transition()
end

function shipSailingEvent:runInitState()
  -- setup all ship exploration states
  -- invoke event to display loading screen
  -- invoke BindableEvents to setup NPCs and ship gameplay features
  self:transition()
end

function shipSailingEvent:runStartState()
  wait(300) -- wait 5 minutes before transitioning
  -- or use another win condition to transition sooner
  self:transition()
end

function shipSailingEvent:runEndState()
  self:transition()
end
-- no need to override runAfterState(), it will run its next state in the sequence

-- phase 2 functions
function shipAttackEvent:runInitState()
  -- invoke ship sinking events
  self:transition()
end

function shipAttackEvent:runStartState()
  wait(300) -- wait 5 minutes before transitioning
  self:transition()
end

-- final phase
local shipDefendedEvent = Event:new()
local shipCapturedEvent = Event:new()

function shipAttackEvent.runAfterState()
  if self.captured then
    shipCapturedEvent:run()
  else
    shipDefendedEvent:run()
  end
end

function shipDefendedEvent:runInitState()
  -- invoke ship defended events
  self:transition()
end

function shipCapturedEvent:runInitState()
  -- invoke ship captured events
  self:transition()
end

shipSailingEvent:run() -- begin sequence
What’s next
Now that you’re familiar with the FSM model, you can see how to make an event sequence in Roblox scripting.
Next up we’ll learn how to create and use timers in Roblox to show countdowns or clocks.
In the meantime, you can continue your journey by learning how to teleport players or how Roblox games work.
Thank you for reading and stay curious!

