Roblox Animations Beginners Guide
Roblox animations breathe life into our game worlds and experience. The tiniest of details such as how a character’s head moves and reacts communicate a lot to the player. Every detail matters when it comes to immersive gameplay.
Let’s go over how Roblox animations work and then dive into some useful tools and examples to get your animations working.
How Roblox animations work
A character or a model must have a rig in order to animate. A rig consists of attachments and a Motor6D object for each part. The Motor6D object is a non-visual node that your model uses to move two model attachments.
Think of Motor6D as the joint for your character joints. Each joint has six degrees of freedom to move with. Like an airplane, it can rotate by changing its pitch, yaw, and roll. It can also translate vertically, left and right, and move back and forth.

For example, a regular humanoid character has parts for its head, torso (upper & lower), left arm, right arm, left leg, and right leg. Each character appendage also has individual attachment parts to connect the hand to the lower arm, the lower arm to the upper arm, and the upper arm to the upper torso.

The key thing to grasp here is that a character rig is composed of the different joints the character uses. We can use these components to build custom characters such as a Mech or even a spider tank. It’s only limited by your imagination, not just the limbs of a humanoid character.
You can create these custom rigs manually in Roblox Studio or use the RigEdit plugin to make your own creative rigs.
A player’s character must use a LocalScript to animate. One key point is that player humanoid animations get replicated to the server for all the other players to see.
Animation replication with Animator
A model must have an Animator object for animations to work. From this object, a script must load the animation using the Animator:LoadAnimation function. Once the animation is loaded, we can create an AnimationTrack to control the animation’s playback. The Animator object is also responsible for replicating animations to the server and players.
Animators that aren’t a part of the player’s structure must use a server script to get created. A non-player animation must get created, loaded, and then started on the server for it to get replicated to all players.
How animation sequences work
An animation sequence uses keyframes and poses to define how a character moves. While animating, the track interpolates each movement of the CFrame from keyframe to keyframe.
Check out my CFrame guide to learn more.
For example, the character may start in a normal standing pose and then the first keyframe is where the character has their leg lifting up after a short time period. The next keyframe then poses the lower part of the leg to kick out.
Between each keyframe, we can also set the easing style and direction used.
Easing style and direction control how the animation behaves.
An In easing direction starts from the beginning of the easing style.
An Out easing direction starts from the reverse of the easing style.
An InOut starts from the beginning to the midpoint and then reverses for the last half.
Luckily, we can use several tools to create these sequences instead of scripting all of them by hand.
Roblox animation tools
We can use several tools to create animations in Roblox. We have the default animator plugin in Roblox Studio and the Moon animator plugin that gives us more options from the default. You can also import animations from Blender.
Using Roblox Studio animator plugin
The built-in Roblox Studio animator plugin gives you the power to pose player characters for emotive actions and animate parts in the world’s environment. Once the animation is ready, we can export it to Roblox to use within our scripts.
Get started with the Roblox Studio animator plugin
- Select the plugins tab in Roblox Studio

- Next, select the Build Rig option
- For the new Rthro models, select R15 or stick with R6 for classic models
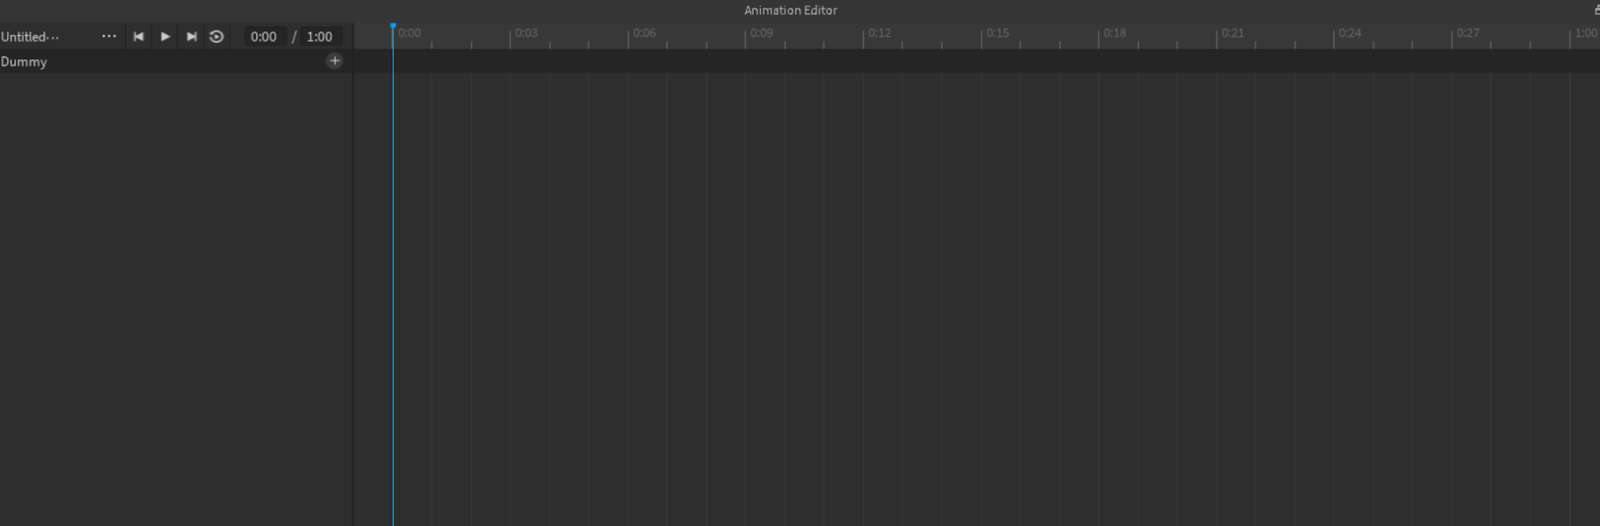
- Select the animation editor in the plugins tab
- With the animation editor enabled, select your rig
- Type in your animation name and click create

- Next, click the + symbol in the animation track editor

- Select add all to load all posable parts (parts with Motor6D)
- Update the animation duration (defaults to 1 second)
- Move the time slider to your desired position
- Now you can pose the character for the first keyframe
- Repeat steps 9 and 10 for all other keyframes

- Once done with the animation, click the 3 dot menu to save
- Click the animation editor button in the plugins tab to disable the editor
- The animation gets saved as a KeyFrameSequence in your model


To preview the animation, press space or left click and hold the time bar to scrub through the animation sequence.
Once your animation is ready, export it to Roblox to obtain an asset id. You’ll need this asset id to use it in your scripts.
Animation Events
If you need to trigger events during an animation, we can create them in the editor. Animation events help us to control how animation affects gameplay and also play sound effects.
Let’s use an animation where the character is throwing a basketball. During our throwing animation, the character follows a sequence.
- Character jumps
- When the jump begins, the characters arms slowly rise up
- Once the character’s arms are above their head, the ball is released
We can break this down by creating two events as CharacterJumping and CharacterThrowsBall. The animation script will listen for the CharacterThrowsBall event to trigger our physics logic on the ball. Remember, these events can occur at any time during the animation, not just at a keyframe.
If the player moves in another direction before the CharacterThrowsBall event occurs, we can cancel the animation and the character still holds the ball.
Detect animation events
Use the GetMarkerReachedSignal function from an animation track to listen to an event.
-- listen for throw event
throwBallAnimTrack:GetMarkerReachedSignal("CharacterThrowsBall"):Connect(function(param)
-- trigger ball throw
end)
Create animation events
First, click the gear icon to enable the event track. Events do not have to align with keyframes.

Click the add event button to enter all event names.

Drag the event to your desired time position and repeat for any other events.
Using Moon Animator plugin
Moon animator lets you animate multiple rigs at the same time and play their animations together at the same time. It works well with rigs to set up keyframes for individual parts and also lets you easily animate the CFrame property. By animating the CFrame property, we can animate the dimensions of the model by expanding or shrinking its size.
Get started with Moon Animator
- Add the plugin to your inventory
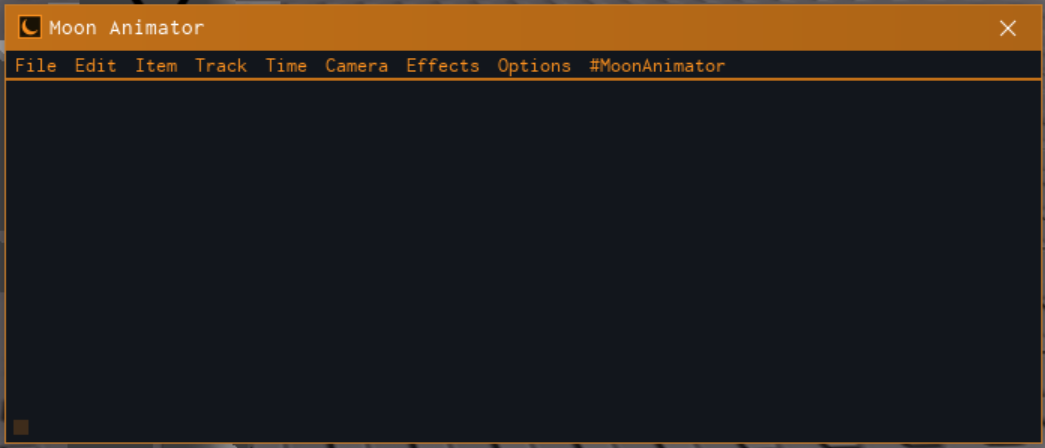
- Select the plugins tab in Roblox Studio
- Click the Moon Animator option
- Select File menu
- Click new animation

- Enter animation’s name

- Click the plus (+) symbol
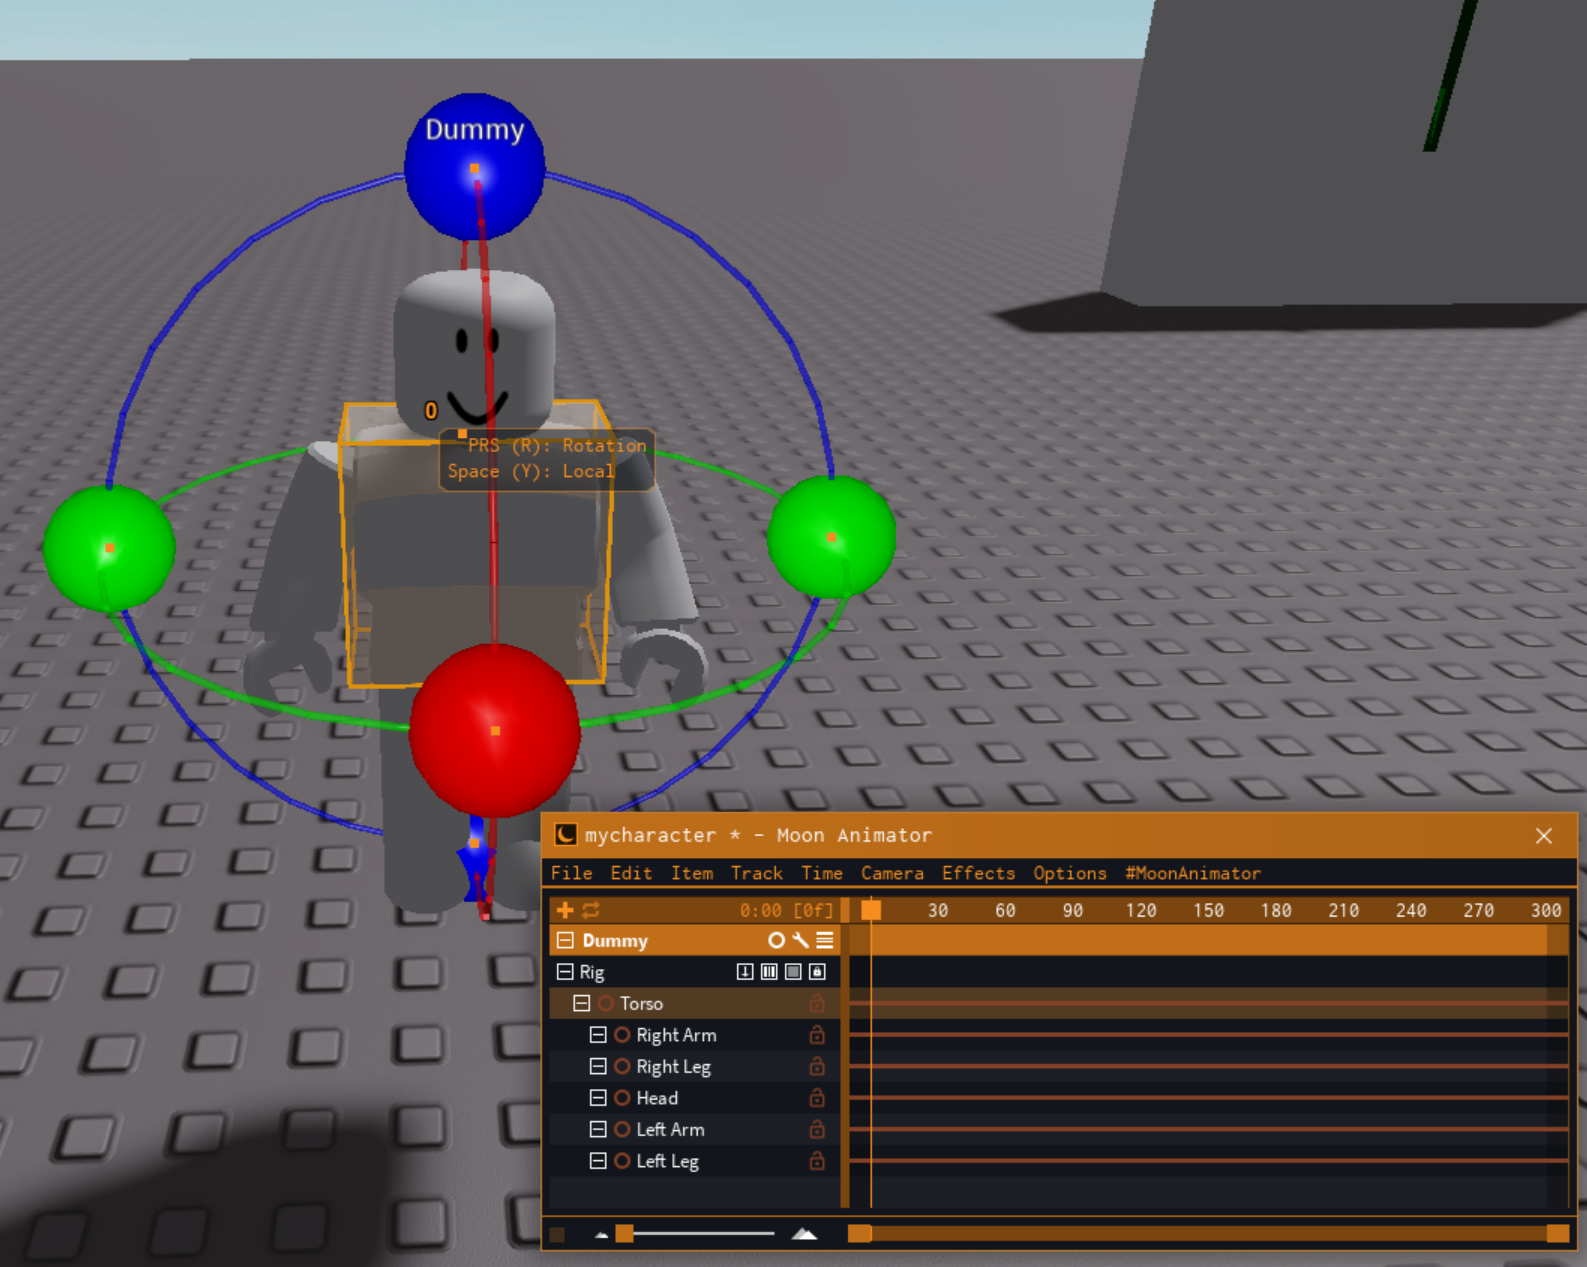
- Now click your rig

- Keep Rig property selected and click ok
- Select your rig to start making keyframes

- Select animation settings in the edit menu to update animation duration
- Drag the time scrubber to your desired frame for each keyframe
- When finished, select the file menu and save


Animate Roblox characters
To animate Roblox characters we will set up different poses for the character’s rig. A rig allows you to control each individual part of a character.
Using multiple animations for one character action
Want to make your character more immersive and life-like? You can accomplish this by adding multiple animations for a single character action.
Roblox characters come with lots of default animations you can replace. We can also create our own character actions besides these defaults.
Custom character actions must use a separate animation script from the default Humanoid animate script.
Use the following code snippet to get a reference to the character’s animate script
local animateScript = character:WaitForChild("Animate")Default Character Animation actions
- Cheer (1 animation available)
- Climb (1 animation available)
- Dance (3 actions with 3 animations each)
- Fall (1 animation available)
- Idle (2 animations available)
- Jump (1 animation available)
- Laugh (1 animation available)
- Point (1 animation available)
- Run (1 animation available)
- Sit (1 animation available)
- Swim (1 animation available for swim and swimidle action)
- Tools (1 animation available for toollunge, toolnone, and toolslash actions)
- Walk (1 animation available)
- Wave (1 animation available)
You can reference each animation with the following pattern.
{scriptObject}.{action name in lowercase}.{CamelCaseAction}Animation{number}.AnimationIdExample
animateScript.idle.Animation1.AnimationId
animateScript.idle.Animation2.AnimationId
animateScript.dance.Animation1.AnimationId
animateScript.dance2.Animation1.AnimationId
animateScript.dance3.Animation1.AnimationId
animateScript.toollunge.ToolLungeAnim.AnimationId
animateScript.toolslash.ToolSlashAnim.AnimationId
Scripting Roblox animations
We’ll need to script animations whenever we want to trigger one during a specific character state. For example, we can trigger an animation where the character falls to their knees when they get hit or take too much damage.
local PlayerCharacter = {}
-- character constructor
function PlayerCharacter:new(player)
  local o = {}
  o.player = player
  o.State = CharacterStates.Idle
  self.__index = self
  return setmetatable(o, self)
end

function Character:TakeDamage(amount)
  local character = self.player.Character
  local humanoid = character:FindFirstchild("Humanoid")

  local heavyDamageAnim = Instance.new("Animation")
  heavyDamageAnim.AnimationId = "enter roblox animation asset url"
  local animationTrack = humanoid:LoadAnimation(heavyDamageAnim)
  animationTrack:play()

  humanoid.Health = humanoid.Health - amount
end
Using Roblox TweenService
The Roblox TweenService is great for changing multiple attributes at once. It can interpolate the changes over a given time duration such as changing a CFrame’s position or a part’s color.
Moving a model example
local TweenService = game:GetService("TweenService")
local car = workspace.Car
local tweenDuration = 5 -- interpolate values for 5 seconds
local tweenInfo = TweenInfo.new(tweenDuration)
local tweenProperties = {
  Position = Vector3.new(100, 0, 100) -- move car from its current position
}
TweenService:Create(car, tweenInfo, tweenProperties):Play()
The tween duration determines the speed of how fast TweenService will interpolate its properties from beginning to end.
What’s next
You now have a good understanding of how to create and use Roblox animations for characters and other types of models.
With the default Roblox Studio animator plugin or Moon animator, we can easily create animations to use for different character actions.
Please consider joining my email newsletter to get more Roblox and other game development updates!
Thank you for reading and stay curious!

